Posts tagged Garden tips
Autumn Gardening Tips

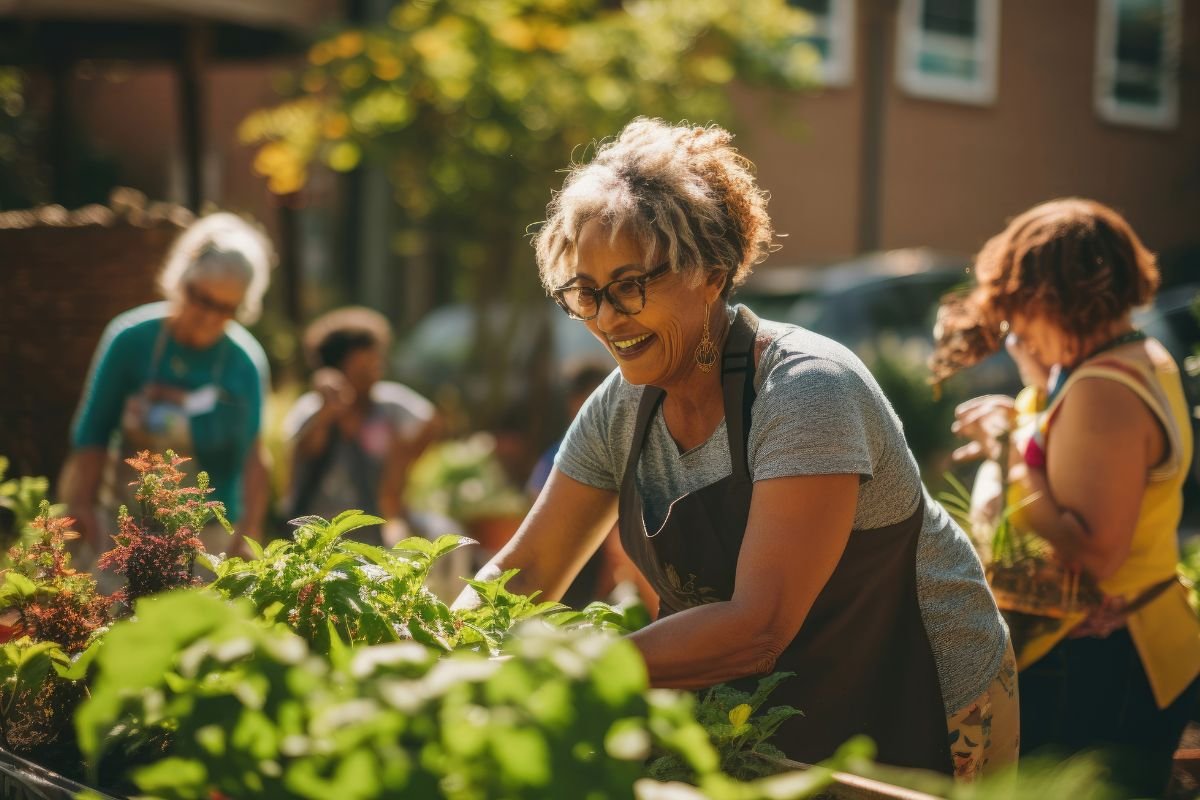
The onset of cooler temperatures is the opening of a starting gate for gardeners champing at the bit indoors, clutching their forks and trowels. Previously limited to moonlit watering, they let loose attacking the weeds and bugs and carry everywhere their lists of tasks and plans.

At this time of year there is plenty of vegetable gardening to do, but not much in the way of instant reward. Most Autumn gardening involves either cleaning up after the last harvest of summer or tending winter seedlings that won’t deliver for the table for weeks or months. In between is a great deal of weeding and lugging about of compost. You can get a lot of fun from planning your winter garden, sketching it out on paper, trying new varieties of vegetable and deciding which to sow in the greenhouse and which to plant straight from seedlings bought from the garden centre. 

A greenhouse can be just a two-shelf number with a plastic cover from the hardware shop. Growing your own seeds is very satisfying – just remember that one seed sometimes means one vegetable (broccoli) and sometimes one plant (beans) and sow accordingly! Seedlings also make great gifts.

Greenhouse with saplings growing inside
  • Remember to wear gloves and a mask when opening bags of bought potting mix, because of risk of legionnaire’s disease. Airborne bacteria from the soil can cause lung infection.

  • Stock up on neem oil, a natural solution to battling most bugs that love your vegetables.

  • Downy mildew is a fungus that develops on the underside of the large leaves of cauliflower, broccoli and many other vegetables. It loves humidity – and loves Auckland! Most gardening suppliers have a product to combat it, you might even be able to find gardeners in Auckland to help you out.

Prepare the soil

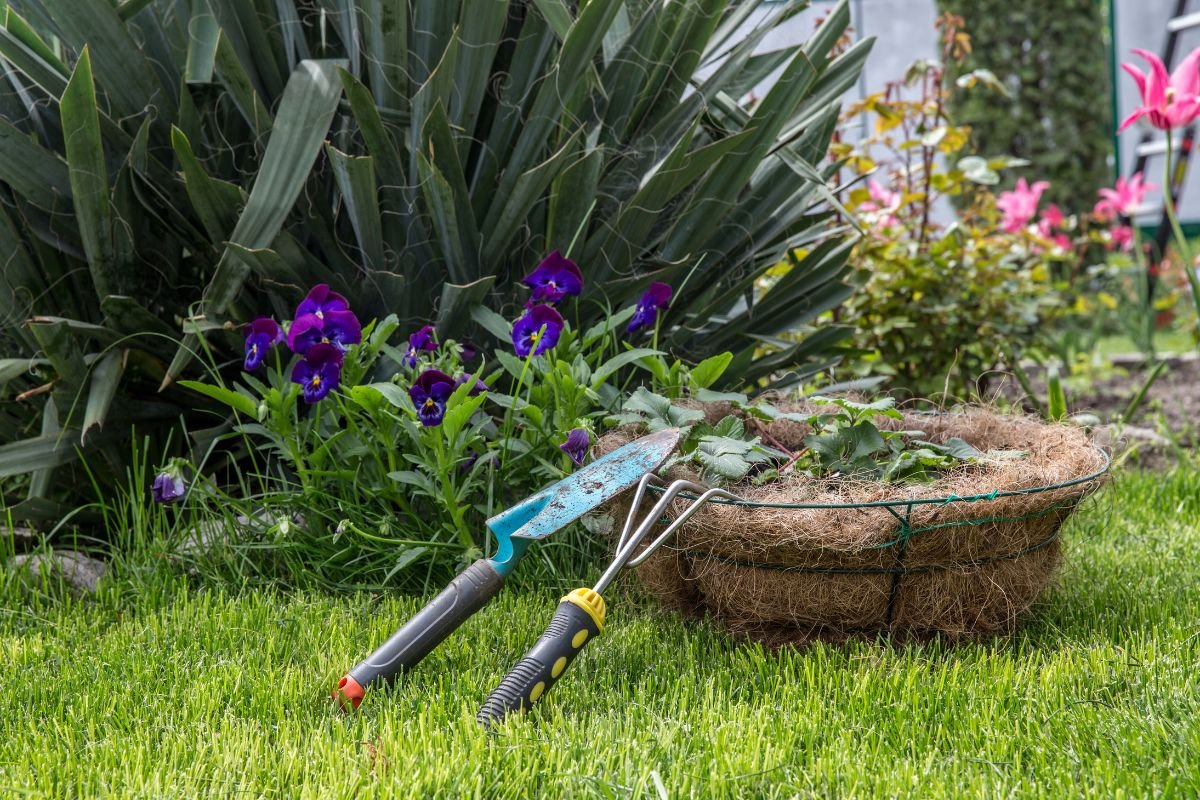
On a sunny day, go through your garden and pull out all dead vegetable plants and any that have gone to seed or bolted. Weed your beds and add compost. Practise green gardening by recycling - stakes and ties pass seasonally between tomatoes and beans, and 1.5l transparent plastic bottles (with labels and ends removed) encourage both celery and leeks to grow strong and tall. If you plan to give up vegetable gardening until salad days return (not unwise given how cheap winter vegetables are), then it’s tempting not to weed it at all. Cover the garden in newspaper (weigh it down) to choke weed growth and unveil at the end of winter.

Much of vegetable gardening success comes down to composting and Autumn is the best time to get a new system started so it has time to decompose before it’s needed in early Spring. Once your household gets into the groove, composting becomes a way of life, plus it saves on rubbish collection fees. The best bin is the type with drawers at the bottom for easy access to the good stuff while you keep loading the goodies in the top. Keep the mix wet with the odd feeding from the hose and of course, throw in those grass clippings. If your garden is low on soil, then an all-purpose garden mix (and compost if you’re short) will bring the garden back to life again.

Auckland Council is encouraging Aucklanders to reduce food waste and is offering free workshops, online tutorials and discounts on worm farms, compost bins and bokashi systems – find out more here. There’s even a food scraps/compost matching service, kind of Tinder for fertiliser?

While you’re in the vegetable garden, check on the health of your herbs. Basil won’t be happy about the cooler weather, so bring him inside. Likewise, any houseplants that have been holidaying in the sun – peace lilies should come back in now and any tropical pot plants.

Field of yellow and red tulips

Bulbalicious

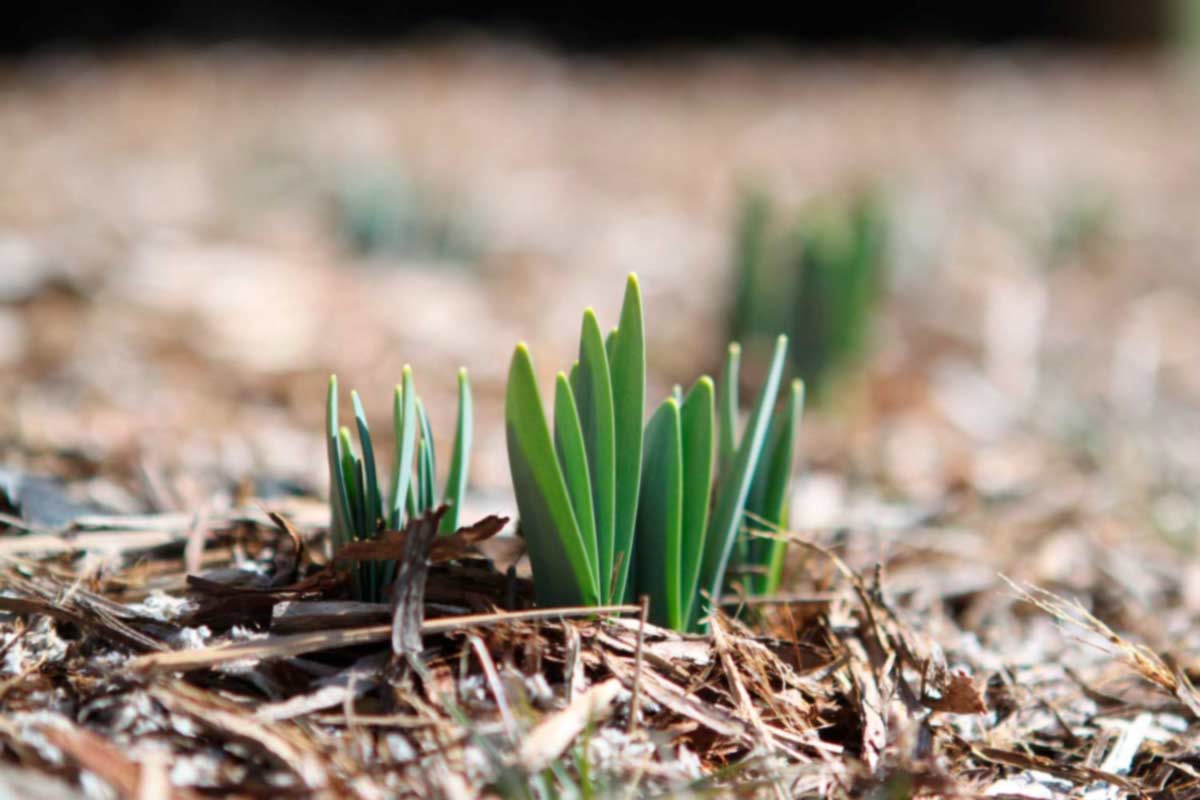
Not all autumn gardening is dull! Here at Crewcut, we love bulbs because they’re hardy, self-sufficient and they set off a lawn to perfection. It’s wonderful after a grim winter to suddenly see the first merry daffodil faces, followed by beautiful tulips, elegant irises and cruisy colourful freesias. Planning this display is masses of fun and helps take the edge off the upcoming cold season. Some bulbs are high maintenance, so if time-consuming gardening maintenance isn’t your thing, best avoid hyacinths.

Try framing the sunny end of your lawn with masses of daffodils or clumps of tulips, set little crocuses in and around a rockery or along a path. Many freesias have a beautiful smell (check the pack) so plant near the house or in a patio pot. Garden centres are always well-stocked with bulbs, or order online from a nursery for more variety. New Zealand has several excellent, reliable bulb nurseries.

Remember – when the flowering is over, wait until the leaves have died before disturbing the plant. The leaves are still collecting energy from the sun and storing it in the bulb for next year’s growth. Depending on the type of bulb, you can dig it up for storing in a dry place, or in some cases (daffodils, crocuses, freesias) leave bulbs in the ground to naturalise (wait for the leaves to brown before snipping off).

  • Summer bulbs aren’t planted until spring – these include dahlias, begonias and gladioli.

  • The pointy end is the stem and the messy, rough side is the root system. Plant pointy side up.

Gardening Maintenance tips

  • Check fastenings on plants and trees such as beans and climbing roses. Make sure ties aren’t too tight or in a position that will hinder new lateral growth.

  • Newly planted saplings, including hedges, will need support against strong winter winds so choose a stake size accordingly.

  • If your deck or front steps are mossy, get them water blasted so they don’t become a slippery health hazard over winter. Do this now rather than waiting to do it in the cold and rain.

  • Clear your section of junk (broken kids’ Christmas presents) and take it to the local recycling centre (tip). Spending all winter watching it rust on the lawn is just depressing on several levels.

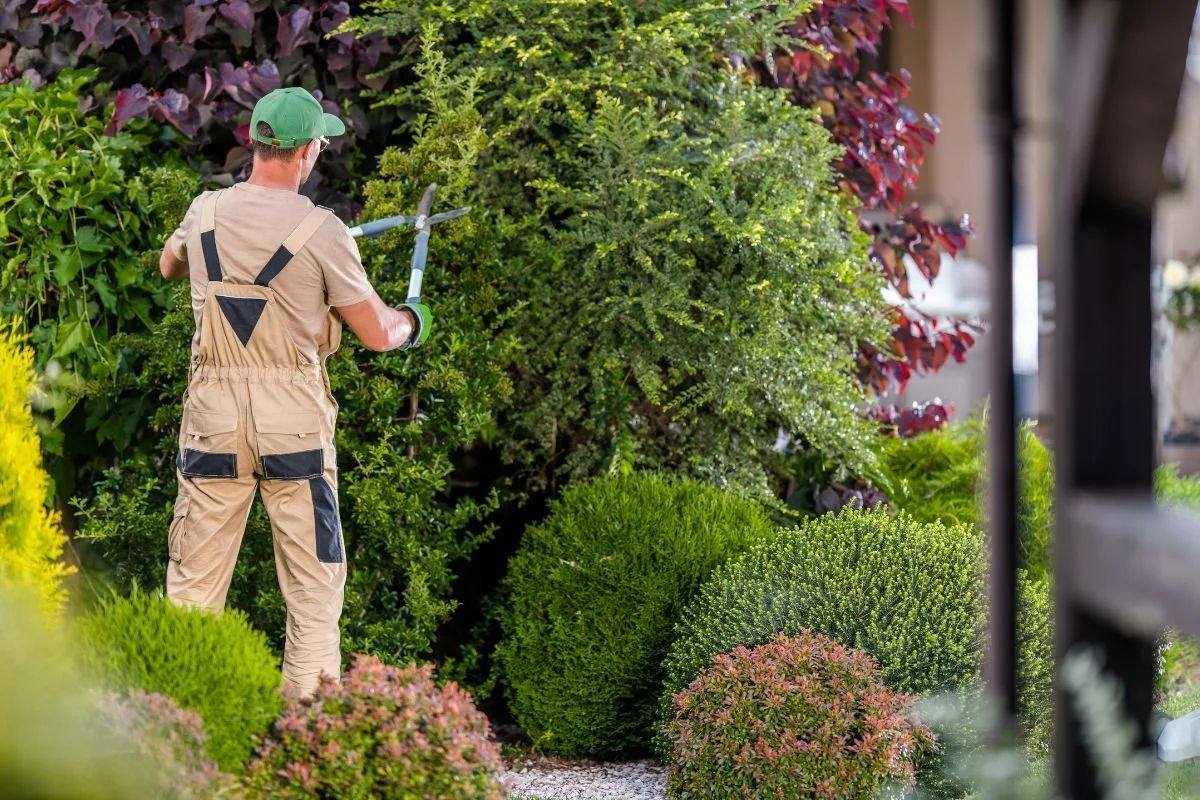
  • An exceptionally long, hot, wet summer has resulted in triffid-like tendrils all over the place and we’ve been inundated by SOS calls from hedge owners. There’s a lot of pruning that you can do with your secateurs to keep things tidy and in check. Look out for upcoming articles here for pruning advice.


Related Articles

Save mega bucks & grow your own avocados
Plate with avocado on toast with eggs, tomato an basil leaves.

Avocados are very “on-trend” at the moment. They go beautifully with eggs on toast, on a bagel with olive oil and feta, or even just cut in half and eaten with a spoon! In fact, thumbing through the pages of any current magazine will just about bring up a new recipe for how to enjoy them every which way. However, given the price of them – anywhere between $4-7 each, you may just be looking to mortgage your house to satisfy that avo craving. Therefore, what’s the harm in trying to grow a tree? It could save you a fortune while uncovering a hidden green thumb.


Many of our franchisees also enjoy running avocado orchards when they’re not gardening, tree trimming, or behind the mower. It can be a rewarding process, so why not read our how-to guide and grow a tree for yourself?


The backstory of the Avocado

The avocado has its roots back in south-central Mexico where it began life in 7,000 BC. However, in recent years, it was discovered that Incan mummies in Peru dating back to 750 BC were buried with what appeared to be avocado seeds.


As early as 500 BC, avocados were cultivated in Mexico, but they were known as Persea Americana. Eventually, they became known as aquacate which, in English, became avocado. Avocados are now a staple of many South American diets, but they also feature heavily in the west as well. People consume them for breakfast, in guacamole, and even in desserts such as cheesecake or mousse.


Here in New Zealand, not every part of the country is blessed with the ability to grow them. They grow beautifully in Northland, Auckland, Hawke’s Bay, Bay of Plenty and Gisborne, and some people have even had success gardening them in Golden Bay and Nelson as well. However, those in the deep south will have less luck due to the colder conditions.


A large avocado on an avocado tree

Can I grow them?

Even if you love gardening and are quite good at it, you may still struggle to grow an avocado tree – depending on your conditions and where you live. You need to have protection from the wind, as well as a warm and sunny spot in your yard. What’s more, you must have at least two metres of free-draining soil due to the sensitive roots.

You can grow avocado trees in coastal locations due to their salt tolerance, but even the slightest hint of frost will have them withering up and dying. A light frost will burn young growth, while temperatures as low as -3 degrees will kill young trees.

The slow way

Growing an avocado tree from seed can give you a sense of pride, even if you’re waiting 15 years to enjoy the fruits of your labour. The next time you get out a personal loan and buy an avocado, keep the seed. Here’s what to do with it.

  1. Wash it and pierce it with three evenly-placed toothpicks.

  2. Fill a glass with water and put the avocado on top with the bottom half in the water and the top half dry. The toothpicks will keep it in place.

  3. Place the glass in a warm area but not in direct sunlight.

  4. Wait. Roots and a stem will begin to grow and when they are 6-7 inches long, cut them back to three inches.

  5. When the stems have leaves again, and the roots are thick, plant them in fertile soil with half of the seed exposed.

  6. Water it but don’t drown it. Keep it in partial sunlight.

  7. When the stem grows to around 12 inches, cut it to half the height to encourage new shoots.

  8. Once the sapling has outgrown its pot, get your gardening gloves out and plant it outside in good sunlight. You don’t need to plant this shallow-rooted plant too deeply.

To literally enjoy the fruits of your labour, you are in for between five and 13 years of waiting. After maturing at around five years old, you may see as much as 200 to 300 avocados per year.

 
Avocado saplings 
 

The fast way

If you don’t want to wait over a decade to enjoy an avocado and salmon bagel, then you can opt for a faster method. Instead of growing the tree from seed, you can buy a pre-grown tree from a reputable garden product supplier. Then, instead of having to painstakingly fight to keep it alive, you merely have to carry out tree trimming to keep it in tip-top shape. It might take a few years for it to produce fruit, but it’s better than risking a 15-year wait.


How to carry out tree trimming of your Avocado tree

Not everyone is a gardening expert, and that’s okay. There are plenty around who can help you out when you require it. If you want your avocado tree to produce fruit and thrive for many years to come, then it’s crucial to stay on top of your tree trimming requirements – generally in Spring.


If you believe you can tackle the task on your own, here’s how to keep your avo tree in tip-top shape.

  1. Remove damaged, dead, or diseased parts.

  2. Remove crossing branches or any part of the tree that may cause it not to grow as it should.

  3. Shorten long branches.


Tip: Never remove more than 20 percent of the tree at any one time. If you haven’t carried out tree trimming on your avocado tree in some time, it may take several years for you to bring it back to its former self.


It’s clear to see that to get that coveted avocado, you need to be willing to put in the hard yards. Otherwise, you may end up like the several thousand New Zealanders who put on a brave face as they buy a $7 avocado from the supermarket.


Related Articles

Mulching Tips
Small garden plants sitting under bark mulch

Learning how to mulch can provide no end of benefit to the avid gardener. Not only does the mulching process help to stop frostbite and retain moisture, but it can be so beneficial for plant growth while preventing weed growth at the same time.


If you’re tired of spending all your precious free time on weekends on your knees pulling out weeds, then while not learn how to mulch? We’ve included various options as well as the benefits of mulching below. Once you try out these methods, you will be surprised at how well your garden thrives as a result.


Grass Clippings

If you are always out and about mowing your lawns, then you will no doubt have plenty of lawn clippings available. Rather than pay to take these to a waste disposal facility or pile them in the corner of the yard, why not use them to your advantage? Grass clippings, believe it or not, are perfect for mulching. Just spread them over your garden beds to help with suppressing the growth of weeds. The best part is, they’re free.


Given the water content, however, you will find they decompose reasonably quickly. If you have a considerable amount of lawn clippings, this may not be a problem for you.


Newspaper

When you have finished catching up on the daily news in your local newspaper, you will find there are many benefits of mulching with it as well. Rather than throw it in the bin, you can layer the sheets around your favourite plants and help to keep the weeds away and your plants moist. For best effect, layer between four and eight sheets around your plants then wet them. Keeping them moist can help to stop them blowing away in the wind as well.


Bark

When you’re learning how to mulch, or you’re getting gardening help from an expert; you will soon realise that bark is one of the most effective mulching products around. You can use it with your shrubs, encompassing garden beds, and even around trees. The reason why there are so many benefits of mulching with bark is that it’s long-lasting. Unlike lawn clippings and newspaper, it lasts a long time, meaning you can spend less time maintaining your garden and more time admiring it.


However, if you like to dabble in transplanting, moving plants, and creating space for new plants, bark may not be the best mulching product for you. It doesn’t play nice with soil, making it exceptionally difficult to remove without interrupting the dirt.


Shredded Leaves

Most yards will have one or two trees that drop leaves in autumn and winter. While they are perfect for blocking your gutters and messing your entrance ways, they actually have a positive purpose – mulching. By collecting these leaves, you solve two problems – your plants get crucial nutrients, and your yard benefits from a clean-up.


You can use shredded leaves anywhere for mulching, and they even encourage earthworms to work their magic as well. As a result, they help both your plants and your soil – while being free for the average homeowner.


Straw and Hay

Straw and hay, when you use it correctly and know how to mulch correctly, can be exceptionally beneficial for your garden. However, you do need to be careful and make sure you purchase weed-free hay. Otherwise, you’re creating more problems than you’re solving. Weed-free hay can keep your weeds at bay, retain that all-important moisture in your soil, and add organic matter as well.


When you add straw or hay for mulching, be sure not to pile it around roots, stems, or tree trunks. Piles of hay is an open invitation for slugs and rodents to come out and play.


Plastic

In a world that’s actively trying to promote less plastic use, it may seem odd that it can be beneficial for your garden – particularly as it doesn’t break down. However, if you have any old black plastic sheets lying in your back shed, you may as well re-use it rather than throw it into landfill.


When you spread black plastic sheets tightly over a flat soil area, the sun’s heat transmits with it and creates a hive of activity within your soil. The soil warms up and then prevents weeds from growing, retains much-needed moisture, and even helps vining crops from succumbing to rot and dirtiness.

If you have infrared plastic at home, then even better. This type of plastic can also help to produce better fruit crop yields.


However, there is a right and wrong way to plastic use. You need to spread it out tightly over the top of your flat soil base, poke holes in it, then plant seeds in those holes. It may be hard to water those plants – especially in their early days, so you may also like to install drip hoses to help keep it moist while they grow.


Plastic is beneficial for garden beds, but you shouldn’t use it for mulching under shrubs. It can, in a word, choke the plants as they begin to grow roots closer to the surface. In essence, there are no benefits of mulching with plastic for more mature plants.


Mulching in Winter

There is a common misconception that mulching during winter is not necessary because the sun isn’t out to heat up the soil for the best effect. However, mulching protects your plants from frostbite, so mulching in winter is a good idea. It stops the roots from freezing while preparing it for a hit of growth in the spring months.


If you know mulching is essential, but you’re not sure how to approach it, you will find there are plenty of garden and lawn experts you can contact in your local area who are only too willing to help. There are also many benefits of mulching, so there’s no time like the present to arm yourself with newspaper, bark, plastic, leaves, or straw and hay and start the process today.


Related Articles