


Quick Summary
Commercial Garden Autumn Preparation – Key Points
6 Essential Autumn Garden Tasks
Professional leaf clearance — Prevents fungal diseases and maintains safe walking surfaces for staff and visitors.
Strategic lawn care — Includes aeration, fertilisation, and overseeding to strengthen grass before winter dormancy.
Expert pruning — Removes damaged branches and improves air circulation before winter storms hit.
Targeted weed control — Early intervention stops chickweed, clover, and winter grass from establishing dominance.
Soil enhancement mulching — Provides moisture retention, temperature control, and gradual soil improvement through decomposition.
Seasonal colour planting — Establishes cool-season flowers and native species that thrive in autumn conditions.
Outro: Proper autumn preparation reduces costly spring repairs while maintaining professional appearances year-round.
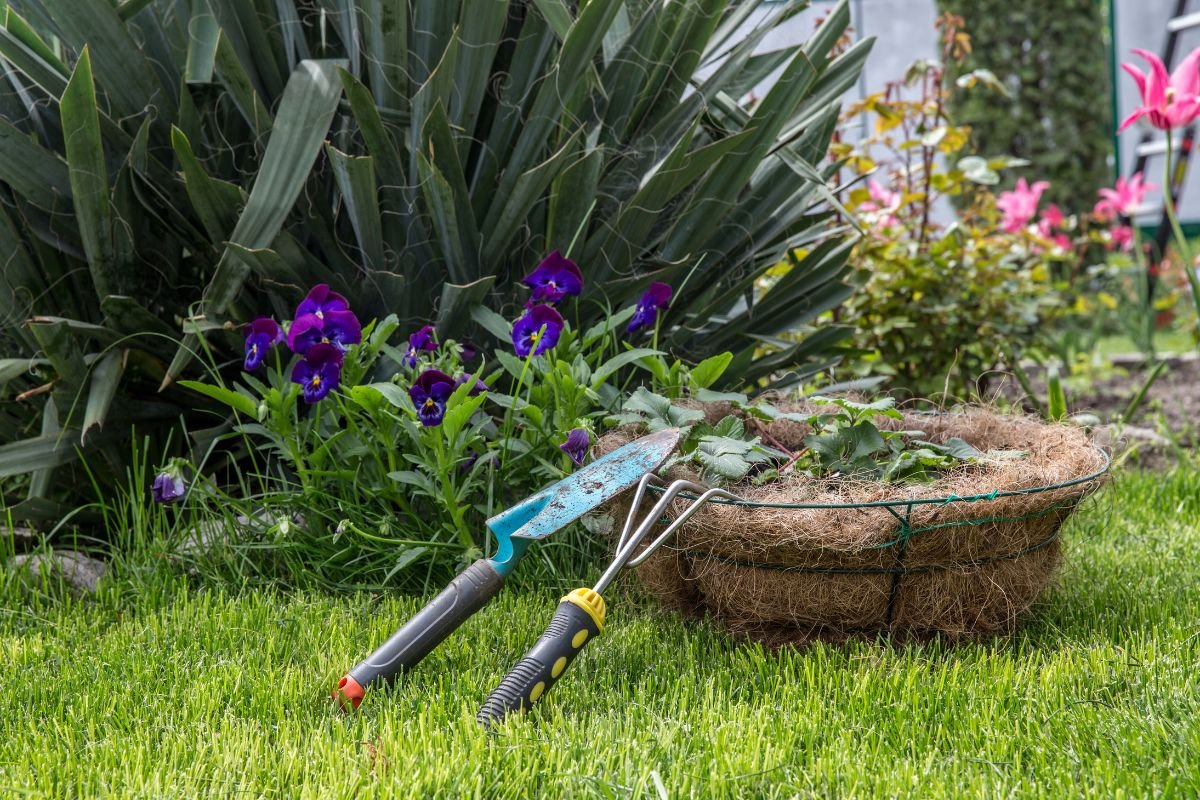
As summer's warmth gives way to autumn's crisp air, New Zealand businesses must shift focus to preparing their commercial gardens for the cooler months ahead. Proper autumn maintenance isn't just about aesthetics—it's an investment in your property's long-term health and professional image. With New Zealand's diverse climate zones, from Auckland's humid subtropical conditions to Canterbury's temperate patterns, each region requires tailored garden care strategies.
Why Autumn Garden Maintenance is Critical for NZ Businesses
Autumn presents unique challenges across New Zealand's varied landscapes. The season brings increased rainfall, falling leaves from deciduous trees, and fluctuating temperatures that can stress both native and exotic plantings. Without proper preparation, your commercial property may face compacted soils, fungal diseases, and weakened plants that struggle through winter.
Taking proactive steps during autumn ensures your outdoor spaces remain healthy, safe, and visually appealing year-round. This seasonal investment also reduces costly remedial work come spring, when damaged lawns and gardens require extensive rehabilitation.
Essential Autumn Garden Maintenance Tasks
Professional Leaf Clearance and Debris Management
Fallen leaves from plane trees, oaks, and other deciduous species can quickly smother grass and create hazardous walking surfaces when wet. Left unchecked, decomposing leaf litter promotes fungal diseases and provides breeding grounds for pests. Regular leaf clearance maintains both the health of your lawn and the safety of employees and visitors.
Professional removal ensures organic matter is properly composted or disposed of, rather than simply redistributed around your property where it may cause ongoing issues.
Strategic Lawn Care for Cooler Weather
Autumn lawn care in New Zealand focuses on strengthening grass before winter dormancy. This includes maintaining optimal mowing heights—typically 3-4cm for most cool-season grasses like ryegrass and fescue commonly used in commercial landscapes.
Our expert team provides comprehensive autumn lawn services including aeration to relieve soil compaction, targeted fertilisation with potassium-rich blends to improve cold tolerance, and overseeding to thicken thin areas before winter.
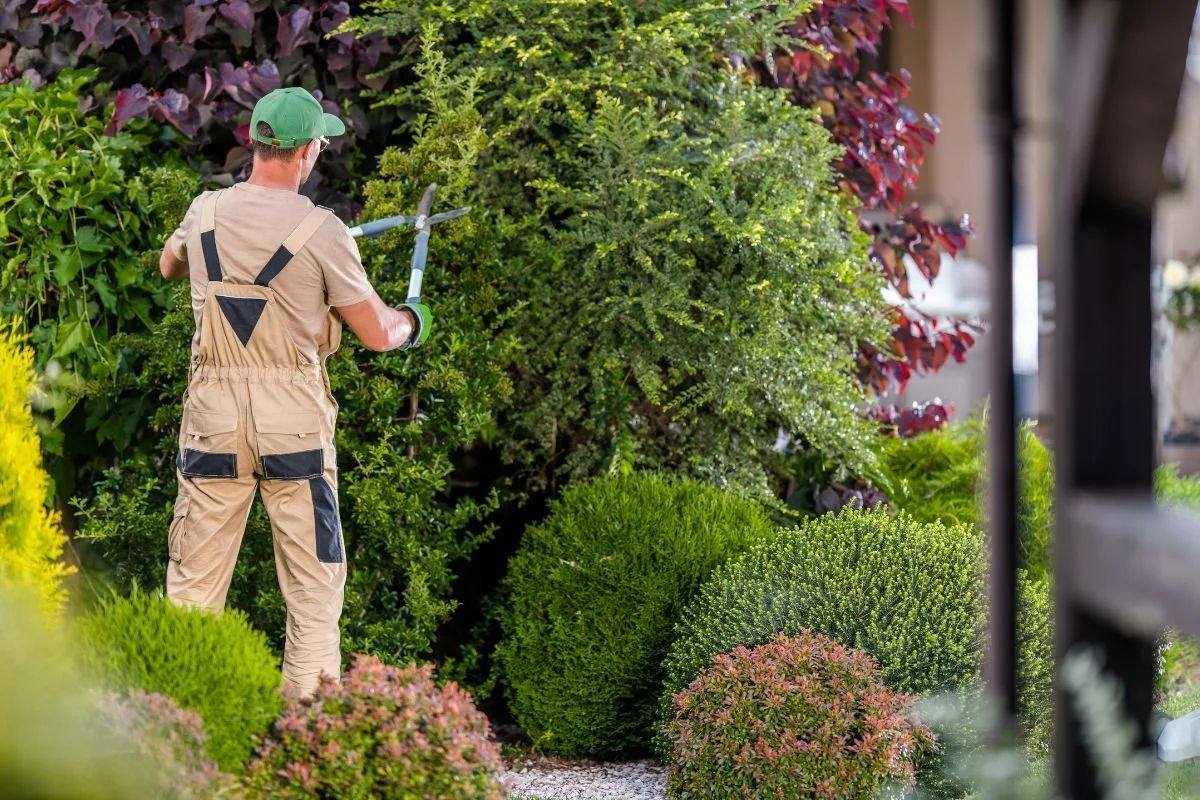
Expert Pruning and Plant Health Management
Autumn is ideal for pruning many New Zealand trees and shrubs, including native species like pohutukawa and kowhai, as well as popular commercial landscaping choices such as photinia and pittosporum. Strategic pruning removes diseased or damaged branches, improves air circulation, and reduces wind resistance before winter storms.
With Crewcut's skilled pruning services, your vegetation receives species-specific care that promotes healthy growth while maintaining professional appearances.
Targeted Weed and Pest Management
Cool, damp autumn conditions favour certain weeds like chickweed, clover, and winter grass. Early intervention prevents these opportunistic plants from establishing and competing with your desired vegetation. Similarly, autumn pest management targets overwintering insects and prevents scale, aphids, and other common commercial landscape pests from gaining footholds.
Integrated pest management approaches minimise environmental impact while effectively protecting your investment in quality landscaping.
Soil Enhancement Through Mulching
Quality mulch application provides multiple benefits: moisture retention, temperature moderation, weed suppression, and gradual soil improvement as organic materials decompose. Different mulch types suit various applications—bark chips for shrub beds, compost for garden areas, and specialised mulches for native plant zones.
Crewcut's expert ensures appropriate mulch selection and application depths to maximise benefits without creating plant health issues.
Seasonal Colour and Plant Establishment
Autumn planting takes advantage of warm soils and increasing rainfall to establish new vegetation before winter. Cool-season flowers like pansies, primulas, and cyclamen provide colour through the cooler months, while autumn is also ideal for planting native species like flax, hebe, and griselinia that will establish strong root systems over winter.
Strategic plant selection ensures your commercial property maintains visual appeal even during the dormant season.
Professional Garden Maintenance Delivers Business Value
Well-maintained commercial landscapes create positive first impressions, support employee wellbeing, and demonstrate environmental responsibility. Professional maintenance ensures consistent results while freeing your team to focus on core business activities.
Crewcut understands the unique requirements of New Zealand commercial properties, from Auckland's volcanic soils to Christchurch's challenging nor'west winds. Our tailored maintenance programmes address regional conditions while meeting your specific aesthetic and budgetary requirements.
Ready to prepare your commercial garden for autumn success? Get your free quote from Crewcut today and ensure your business property remains healthy, safe, and professionally presented throughout the cooler months ahead.
